What is an AI Avatar?
An AI Avatar is a digital version of you that think and interact like you would, available 24/7 to engage with your audience. Trained on your content, it will extend your reach beyond physical limitations while maintaining your authentic voice.
Why should you create an AI Avatar?
- Focus on high-value creation while your Avatar handles the routine interactions, keeping your learners engaged.
- It will deliver personalised experience to learners and guide them to get the value for money.
How to create an AI Avatar?
This guide will walk you through each step of creating your own AI avatar based on the objective you want to achieve with it.
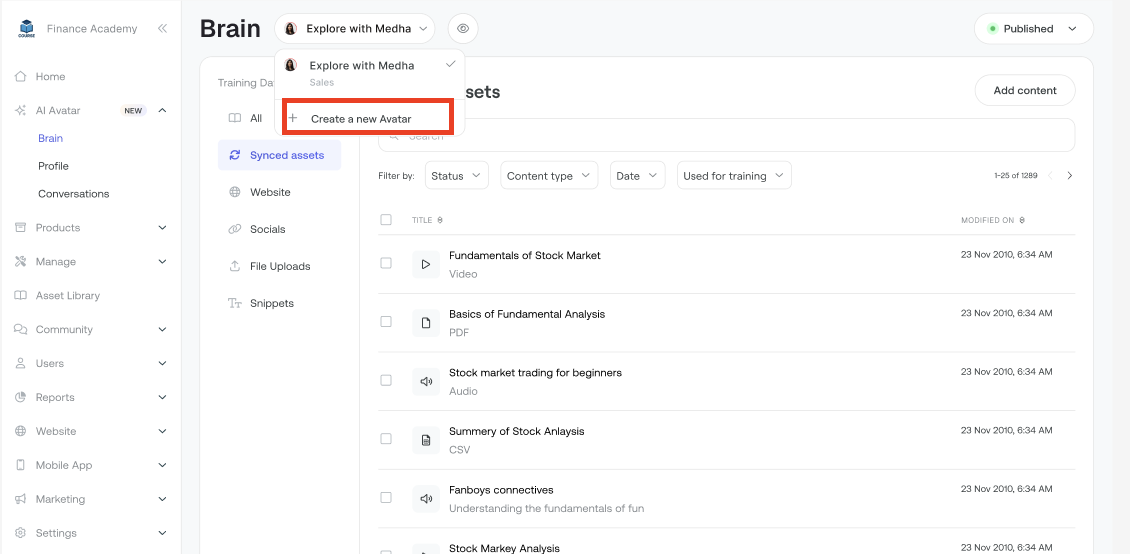
Step 1: Go to the left navigation bar and click on AI Avatars.

Step 2: Click 'Get Started' to start creating the Avatar.
Step 3: Select the purpose of the avatar and click Continue. You can create an avatar for any of the following purposes:
- Sales - Help convert the audience into learners by answering questions about your courses, memberships, webinars, etc.
- Support - Supports learners by answering questions, providing solutions, and recommending relevant course content to maximize their learning experience.
- Engage - Provide guidance and mentorship based on your areas of expertise.
- Custom - Reflects your overall knowledge and communication style, and talks in a natural style.

Step 4: Add your content to train your Avatar's brain. Your AI needs to learn from your content to sound like you.

1. Add Your Social Media Accounts
- Link platforms where you regularly share your expertise. Your public posts help your AI learn how you communicate.
- Note: We will only fetch the data that is publicly available. Private profiles and DMs will not be accessed. This content must be managed by you or your team.
2. Add Website URLs
- Add website links that contain valuable information about you and your areas of knowledge.
- Type your website address (like www.yourwebsite.com)
- You can add links to your website, blogs or portfolio.
- Choose if you want to scrape all the pages of the website link added.
- Note: We can't download videos from the websites, please upload them directly as files.
3. Upload Files
- PDFs- Your lesson plans, worksheets, or slides
- Text files- Transcripts of your podcast episodes or talks, questions you commonly answer about your field, and published pieces you've written for magazines
- Course materials
- For best results, provide diverse content that accurately represents how you communicate and what you know.
After adding the content, click Continue.
Step 5: Continue to Avatar profile generation

Step 6: Avatar Profile Generation
Once AI training completes, your automatically generated Avatar profile will appear, and the building status banner at the top will disappear.

The AI generates the following data from the content you have shared:
- Name - How your avatar will be identified
- Profile Image - A visual representation of your avatar
- Headline - A brief statement about you which will be displayed below the name.
- Description - A more detailed explanation of who you are and what you offer
You can edit any of these if you want to change anything.
Step 7: View Avatar Readiness to see required steps, then click each step to complete your setup process.
What is the Readiness Score?
Avatar Readiness is a score that measures how well your Avatar can represent you based on the data you provided. Each completed task increases your readiness score, with higher scores indicating better avatar performance and interaction quality.

Step 8: Once the steps are completed, click on the Publish button at the top and confirm the action.

Step 9: The public page of your avatar is ready. Click on Visit page to go to chat with the Avatar or Copy link to share it with your audience or learners.

Step 10: Choose where your AI Avatar will appear:
- Your Website - Add to your own website (for logged-in users, logged-out users, or both)
- Learner Dashboard - Display for learners who are logged into your Graphy courses
- Mobile Apps - Make it available on Android and iOS apps (for logged-in users, logged-out users, or both)
Was this article helpful?
That’s Great!
Thank you for your feedback
Sorry! We couldn't be helpful
Thank you for your feedback
Feedback sent
We appreciate your effort and will try to fix the article