This article is a comprehensive guide on managing your website's branding and advanced configurations on Graphy.
Set up your website's professional identity with logos, favicons, and custom branding that represent your business. Add advanced functionality with custom head and body scripts to integrate analytics, tracking tools, and third-party services. Whether you're launching a new website or upgrading your existing presence, this guide covers all the essential website-level settings needed to create a professional, feature-rich platform.
Website Settings
For overall website settings that apply across all pages:
Step 1: Click on the settings icon on the top right of your Website section.

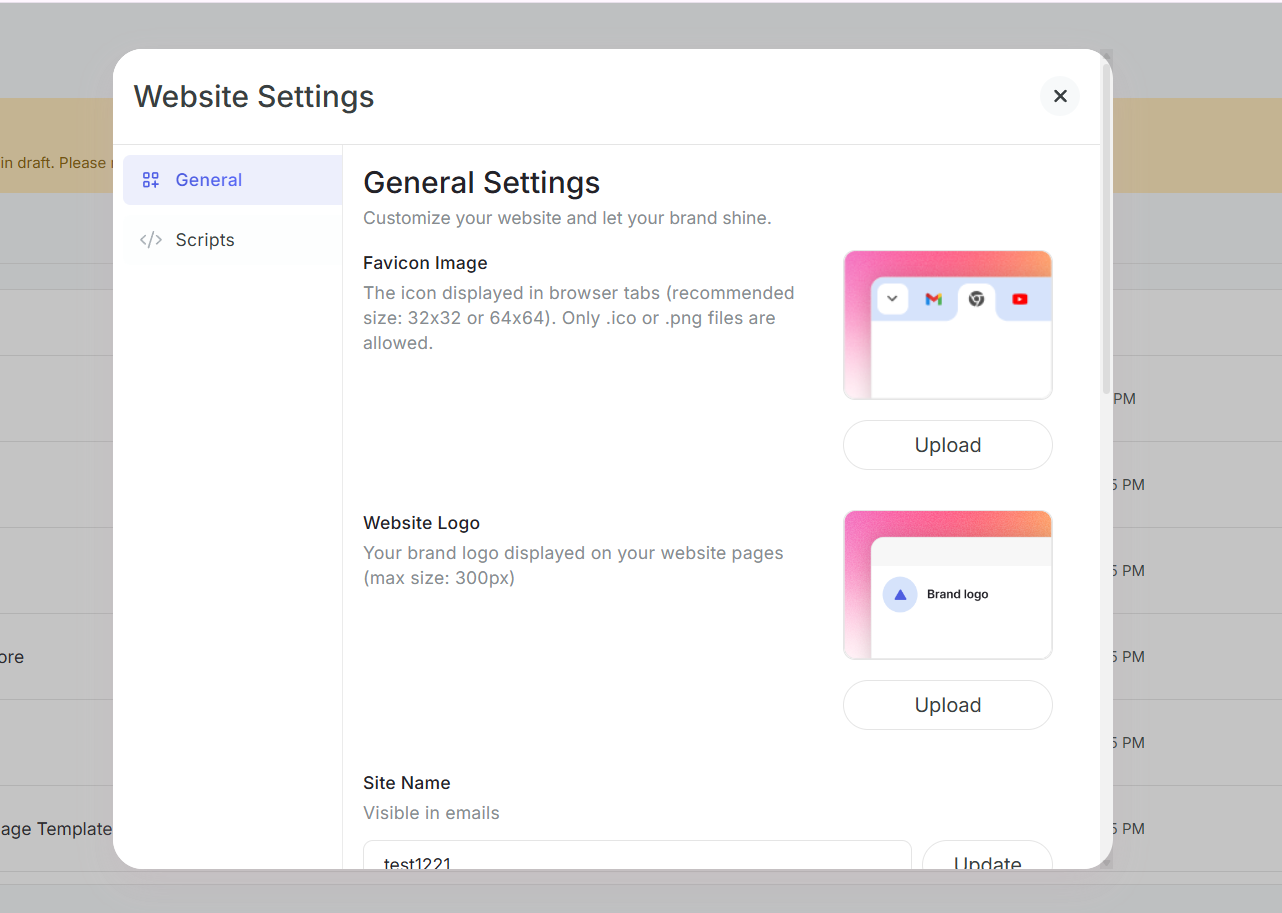
Favicon & Logo
Step 2: Upload your favicon - the small icon that appears in browser tabs.
Step 3: Upload your website logo - this appears in your header and other branded areas.
Step 4: Update your site name, this name will be visible in system emails and other email communications sent from your website.
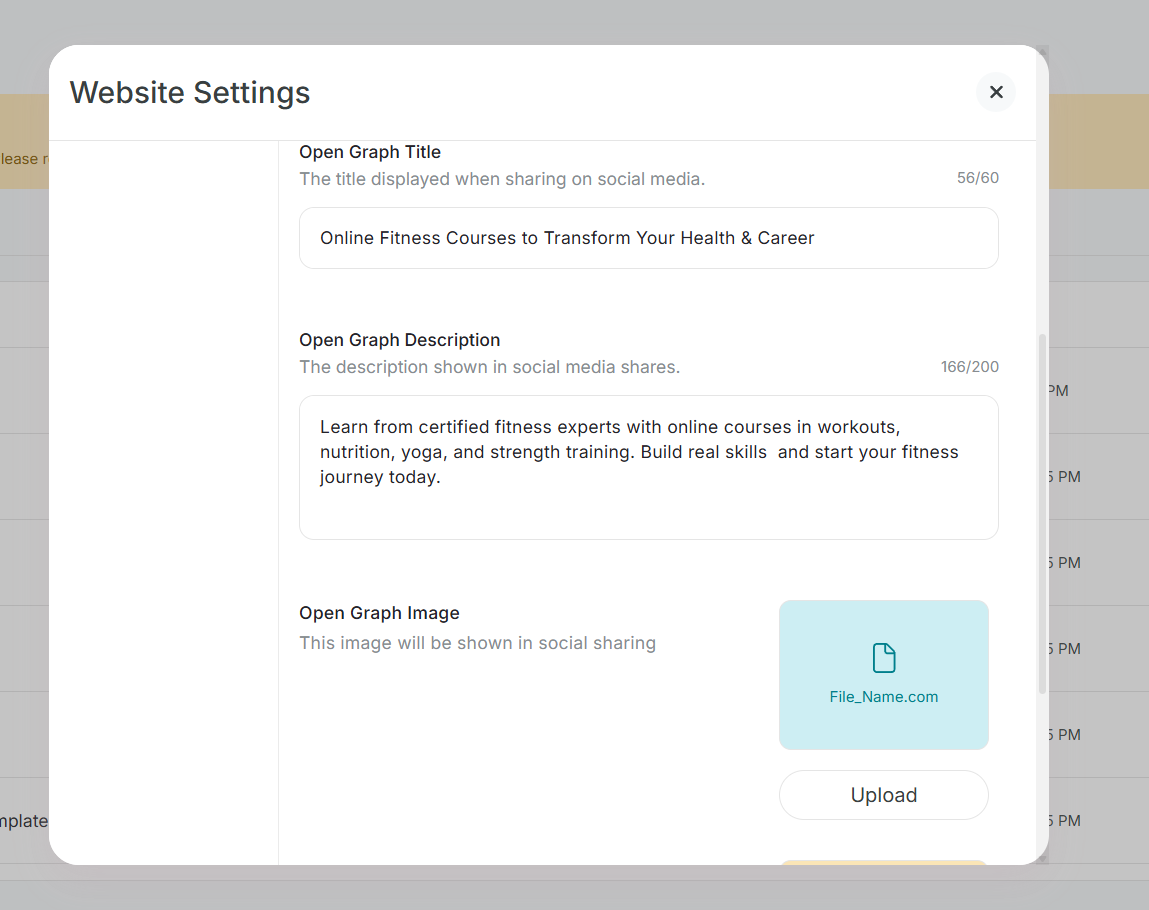
Social Media Sharing
Step 5: Add the Open graph title that appears when your site is shared on social media.
Step 6: Add the Open graph description that appears when your site is shared on social media.
Step 7: Upload an image that will be shown when someone shares your website link.
Sitemap
Step 8: Upload a sitemap to help search engines better understand and index your website structure.
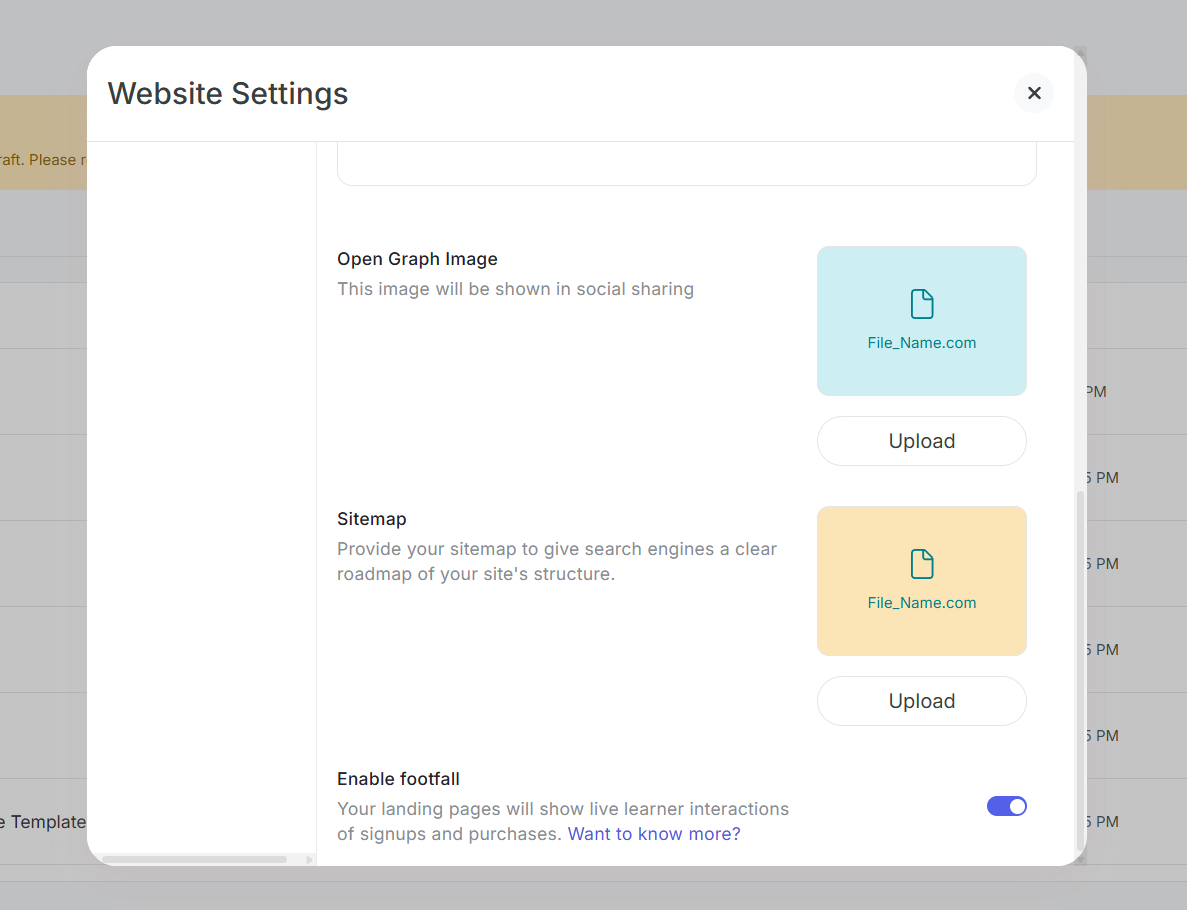
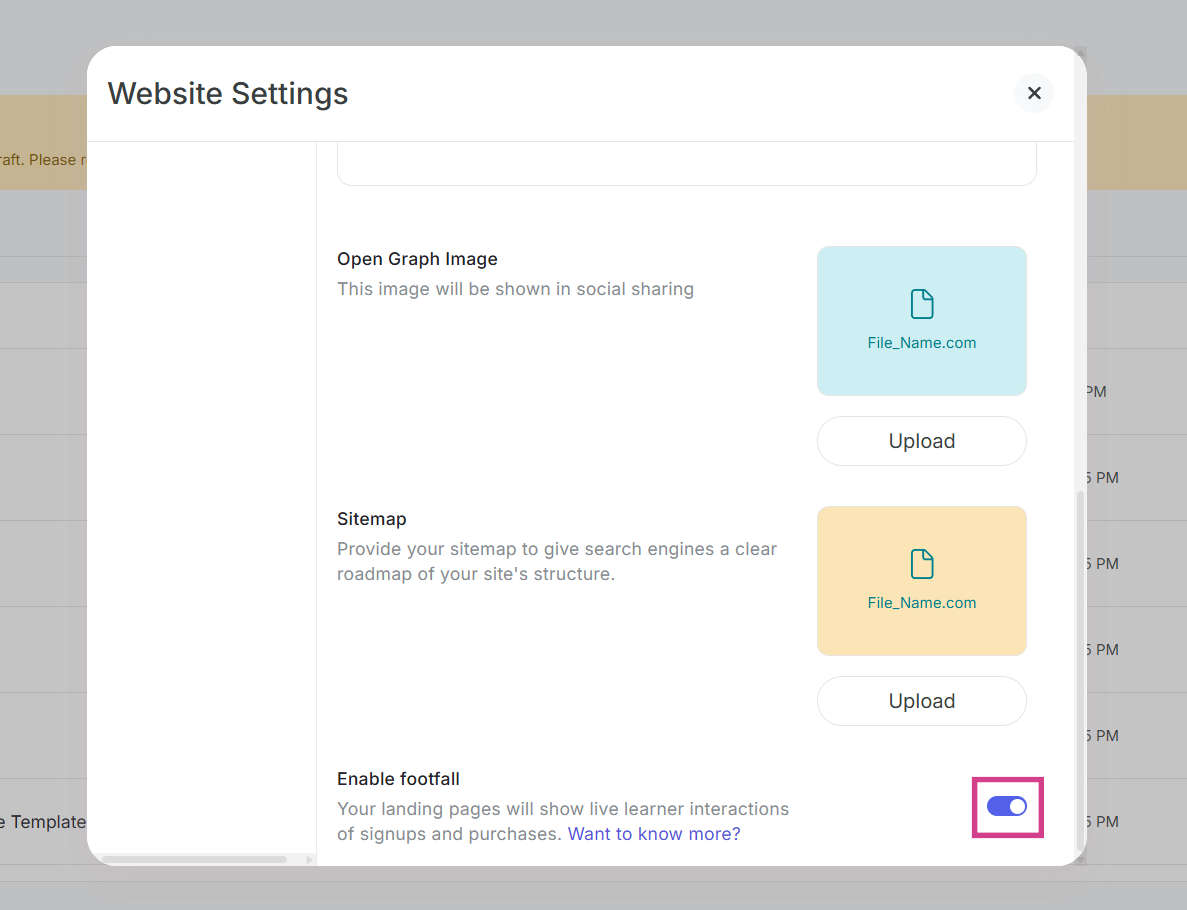
Footfall (Live Activity Banner)
Step 9: Enable footfall to show live activity like sign-ups and purchases as a banner on your website.
This social proof feature helps build trust with visitors by showing real-time activity.
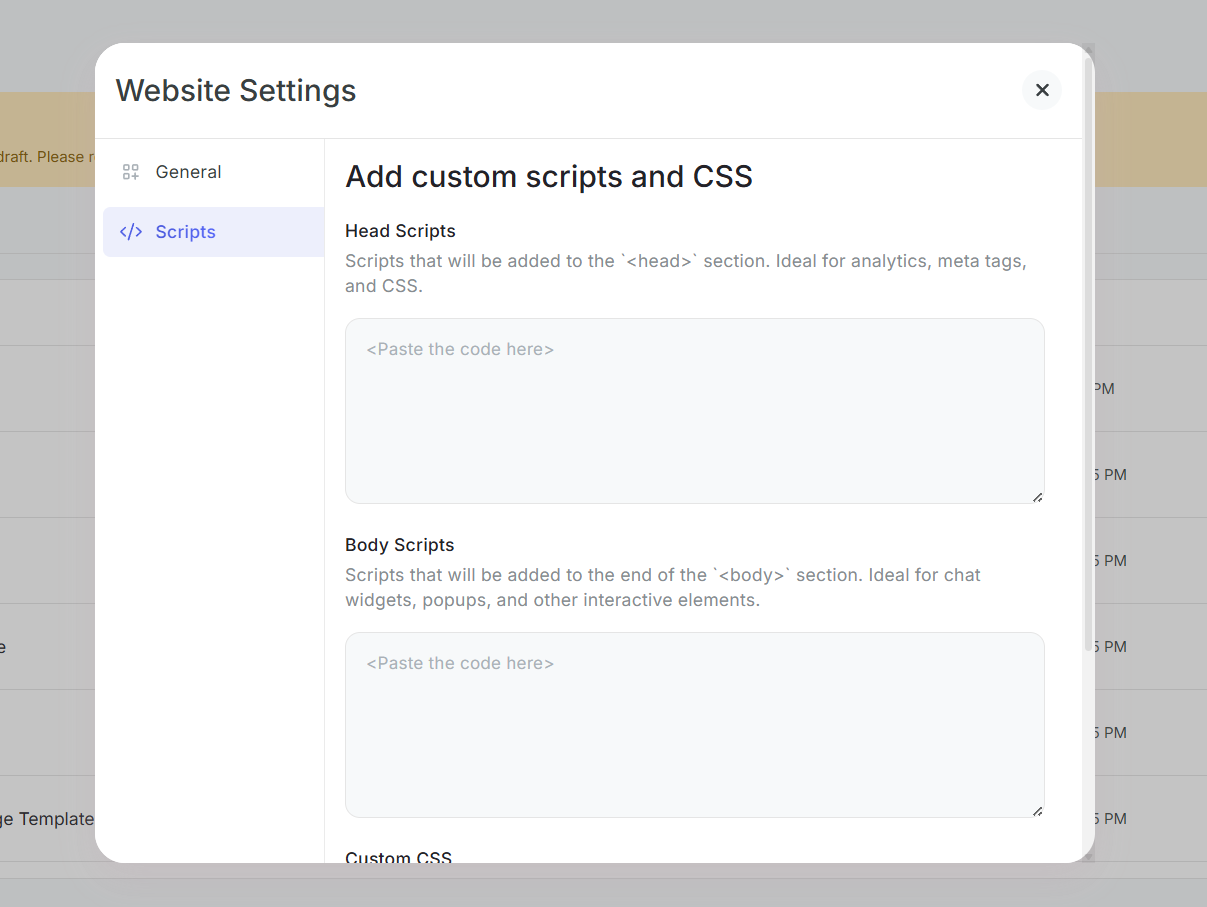
Custom Scripts & CSS
Step 10: Add custom scripts to the head or body of your site for tracking, analytics, or other integrations.
Step 11: Apply custom CSS across your pages for advanced styling customizations.
Related Articles:-
Was this article helpful?
That’s Great!
Thank you for your feedback
Sorry! We couldn't be helpful
Thank you for your feedback
Feedback sent
We appreciate your effort and will try to fix the article